Unreal UE4 and Oculus Quest 2 VR Development
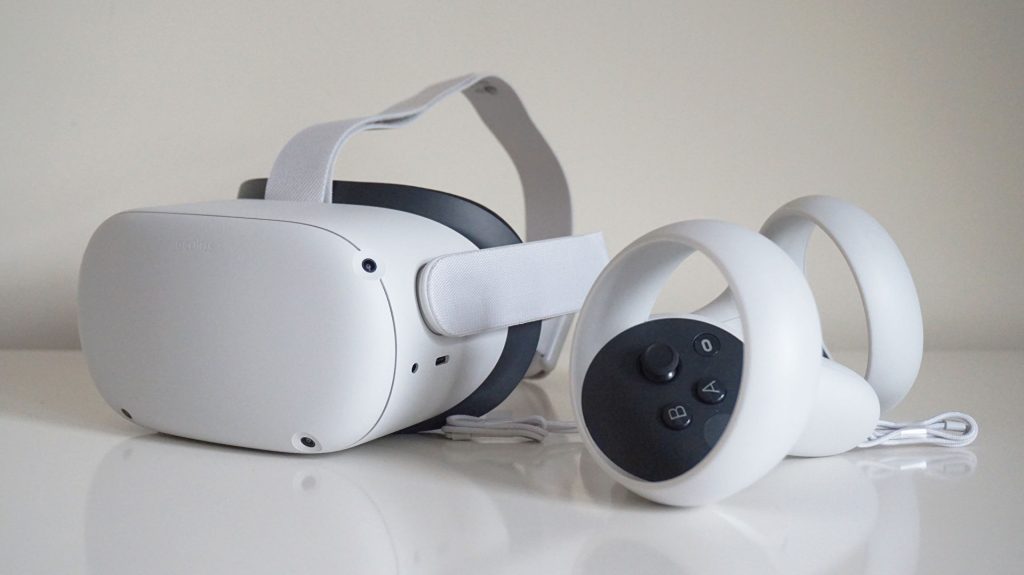
If you are using Unreal UE4 and you want to develop your first Oculus Quest 2 VR Game. Then you came to the right place. I am Bernhard aka FattyBull an Unreal Engine Artist. I am trying to document all mandatory steps to get this done. Especially for Beginners that want to learn how to build your own VR Game that also runs on the Quest 2 for Android.
Heads Up. Since the new Unreal Engine 4.27.2 and the OpenXR VR Template, I do have an update for you. However, I highly recommend going through this documentation, since it’s the foundation you’ll need also when using the new OpenXR VR Template.
For clarification. In this journey I am going to document two situations.
Situation #1
When the Quest 2 is connected to the PC via the Link Cable or the Virtual Desktop. In this particular case, we do have a pass-through situation and the Android System of the Quest 2 doesn’t really matter.
Situation #2
Exclusively for the Quest 2 and it’s Android Based OS. And in this particular case, I will also test two different API’s. First of all, the possibilities of using Vulkan from the Khronos Group. And the second one using DirectX12, OpenGL and ES3.1
For both situations, we do need different Unreal Project Settings. I am currently trying to figure out what “general” project settings could be used for both scenarios.
Drivers
Before you can actually start developing anything, you need to make sure that you have the latest drivers installed. In short, you will need the latest Android Studio Drivers. You also need to make sure you’ll have the necessary ADB Drivers, SDK and NDK Packages.
But hold on. This here is just the overview. I am going to show you step by step all the details and all the possible problems you’ll run into. WARNING: Super important. If you have currently some ADB Drivers installed that worked well with the Oculus Quest 1 – then please keep in mind, they will not work anymore when using Oculus Quest 2.
Additional to that, I also wanted to mention one more thing. Considering the fact, that I am going to use the Oculus Quest 2 with the Link Cable, and the Virtual Desktop. It’s important to know, that all those VR Settings for Unreal do also support other VR Products. Like the Oculus Rift or the Oculus Rift S.
Unreal Project Settings
After we covered all the essential drivers to connect your VR Headset with your Windows Operating System, we can finally focus on the Unreal UE4 project Settings.
Please keep in mind, that those project settings have multiple options and variations and combinations of settings. With my tests, I am trying to find somehow Universal Project Settings that can be loaded to any Unreal Project File.
But it’s important to understand from the beginning, that those project settings have to be distinguished. Depending on the Target Platform we want to develop. It makes a huge difference if we are using the Oculus Quest 2 Headset for the Android System or if we are using the Oculus Quest 2 with the Link Cable and Virtual Desktop (Cable Free Solution).
Material Tests
While I am testing these two situations I am also testing basic materials. PBR materials. Nothing fancy for the start. Albedo, Metal, Roughness, Spec, Emissive, some Normal and Displacement maps followed by some translucency tests to see what’s feasible and what’s not.
First of all, I am trying to run some basic material tests. Based on PBR Shaders. So really nothing fancy. Just a few basic Material Nodes with color, spec, roughness, and emissive values. I am not constructing any complex materials.
Download Project Files
As usual, you will find all my Free Unreal Project Files for download at my resource page. Keep in mind. To be able to access all my free project files, just join my free slack channel. From there you’ll get the direct download link. To join my slack channel, just click the link from my resource section or send me an email to receive an invite link. Email: go@fattybull.com
Goal
My goal is clear. Let’s get the best project settings for both situations. What works best for developing a VR Game for the PC. And what works best if we are going to use the Quest 2 with it’s native Android based Operating System.
How can we setup the Game using OpenGL and ES3.1 Shader Models and what do we have to consider if we are deploying our VR Game with Vulkan. from the Khronos Group.
A lot of work, a lot of testing. Let’s see how that goes. Cheers
Notes
Normal Maps
Normal Maps are in general for VR a major problem. Especially on large flat surfaces, they will still appear flat. The best workaround for this issue is to have your geometry actually built accordingly. The use of DXT5 Normal Maps does not seem suitable.
- If Multiview is on HDR is not supported
- Dynamic Shadows: Set the light source to Moveable instead of Stationary
How To Launch Your UE4 Unreal Engine Project as a VR Steam Application?
- Install Virtual Desktop
- Install Steam VR
- Launch Virtual Desktop
- Launch Steam VR
Make sure you can see the VR Headset and both Controllers as activated. Like seen below.

If you can’t see them active, then do the following
- Launch Virtual Desktop from your Oculus Quest 2 Dashboard
- Once the Virtual Desktop is launched, you can see inside your Quest2 Dashboard a Menu
- Select Launch Steam VR

You can also launch the Steam VR Application from the Steam Desktop Icon, see below.


UE4 Project Settings for Oculus Quest2 Mobile
- Supported Platforms –> Check Android
- Target Hardware–> Mobile Scaleable 3d
- RENDERING: Mobile MSAA
- RENDERING: Foward Shading
- RENDERING: Anti-Aliasing MSAA
- VR: Instanced Stereo, Mobile HDR
- Platforms–> Android–>Check APK SDK LIcense
- BUILD: Support armv7 | Support Vulkan or ES3.1
- Advanced APK Packaging: Package for Oculus Mobile Device Add Quest2


Lightmass GPU for Quest2 Mobile
I was running a couple of tests trying to use the GPU Lightmass for a VR Quest2 Built. No success. While I was able to generate the GPU Lightmass, and deploying the VR Game to my Oculus Quest2, the game constantly crashed and exited automatically after a few seconds.
Datasmith Runtime Plugin
Sad news also for Datasmith users. When ever I activated the Datasmith Runtime plugin I got erros when deploying to the Quest2. Not working at this time.

VR Glass – High Performance Glass Shader
UE5 SDK for Packaging
Important Notes
- specular and sky atmosphere are processes that are rendered per pixel in real-time and can’t be baked
- Turn off all Ray Tracing except Support Ray Tracing for GPU Lightmass baking
- Use of DLSS from Nvidia: https://developer.nvidia.com/rtx/ray-tracing/dlss/get-started#ue-version
- (Create a Plugins folder in your Project File if not existent. Then Copy and paste the Plugins Folder “DLSS” into the Plugins folder

- add the following line to the DefaultEngine.ini file that can be found in your Unreal Engine Project file: r.BasePassForceOutputsVelocity=1
- If you use Forward Shading use MSAA for AntiAliasing
- If you use Deferred Rendering use TSAA for AntiAliasing
Level Blueprint to run DLSS

Oculus Build UE5
https://github.com/Oculus-VR/UnrealEngine
Application Space Warp
https://developer.oculus.com/blog/introducing-application-spacewarp/?locale=pt_BR


I’ve been thinking of getting the Oculus Quest 2 just for this reason. Keep it up. I’m following this blog to see what you figure out next.
Thank you. Yes, it’s very interesting. I am currently running a lot of tests.
Normal Maps, Anti Aliasing, Datasmith and other Plugins, etc.
Feel free to join my Slack. I created an extra VR Channel just for that.
I am quite interested of your research. I will keep in touch in this blog. I have started developing one application 3 weeks ago. Quite heavy interior scene for a real estate company for oculus quest 2. I have did few tests and for example, the forward rendering seemed to me not a good idea – seemed to me quite slow. Anyway, I am cg artist, not a game maker. So my first test were quite basic – no metering methods, just personal feel. Anyway I am using now some metering apps for CPU, GPU and did also a lot optimization in unreal – shader complexity and most important Software Occlusion Queries for Mobile! to get quite nice result, also FFR level to high quite helps. THe result still looks good.
That’s great to hear. And yes, please keep me posted with your progress. Always good to see other peoples work and to share experiences. If you are not on my slack channel yet, please just join my dedicated #vr channel. Always good to have other Quest2 Developers on board. Keep rocking and great to have you here! Cheers