If you ever wanted to know How to create a Roblox Skybox, you came to the right place. In this Tutorial, I am going to show you how to create a custom Roblox Skybox. I am using AI-generated images with a panoramic landscape view and I am going to guide you through the entire process of making cool-looking Roblox Skyboxes, useable for any Roblox Games.
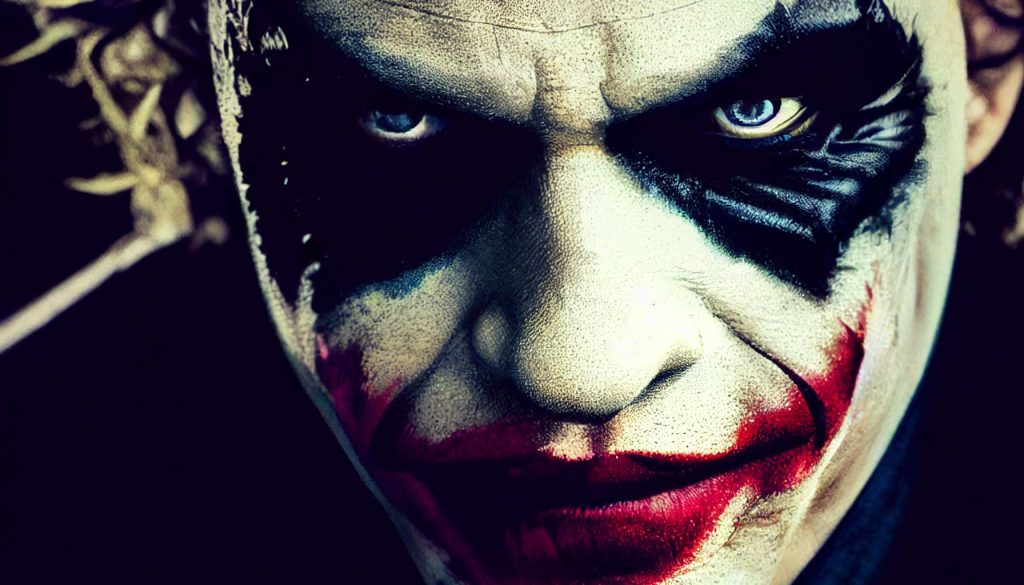
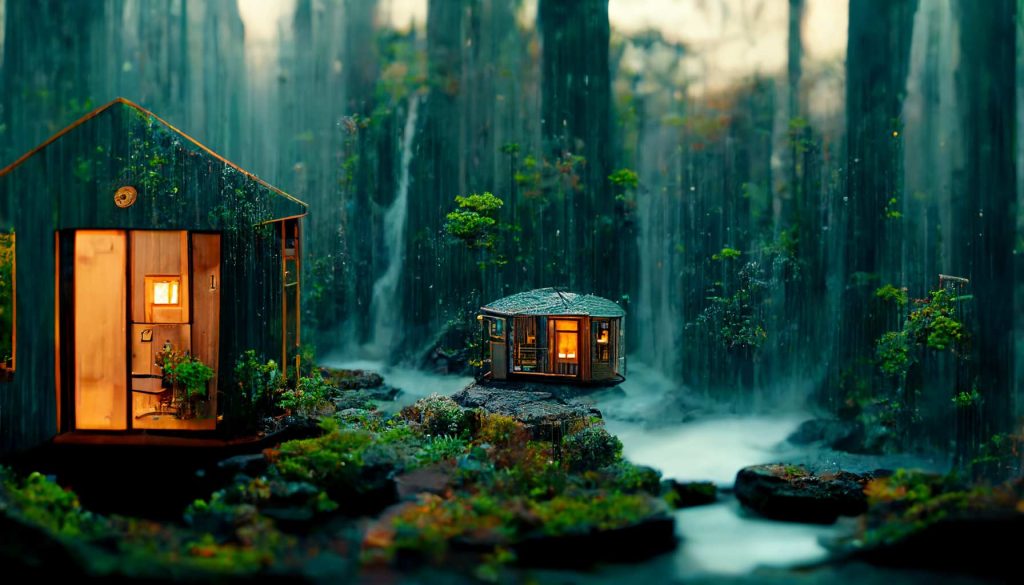
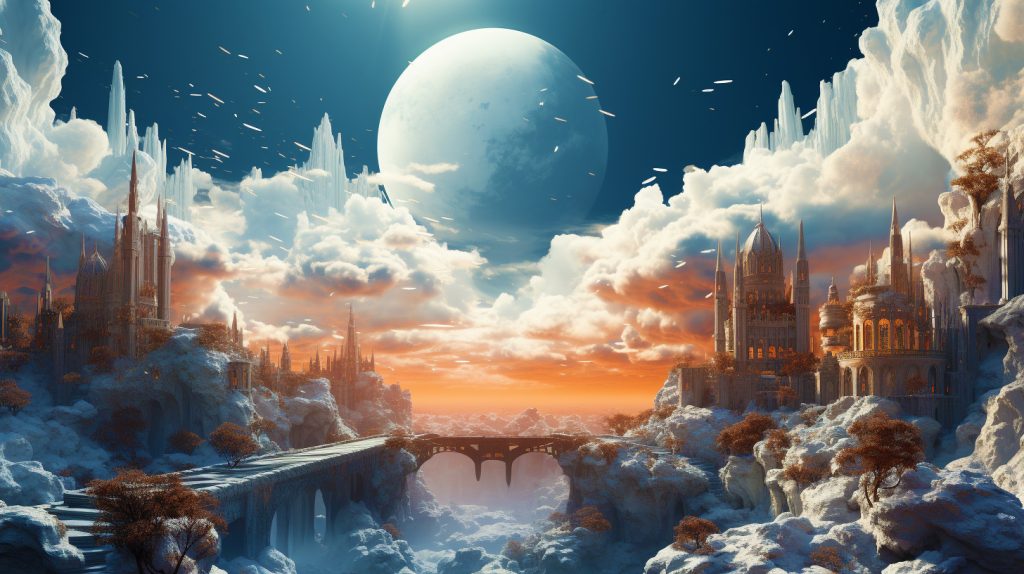
See below some of the cool-looking examples we are going to generate for a Roblox Skybox. And yes, after that short tutorial, and following the easy steps provided, you can also create your own custom Roblox Skybox Environments.
You can Download the example of my Roblox Skybox and .rbxl file for Roblox Studio right here.


I show the process of quickly converting the panorama images into a cube map projection. Because that’s the file format you need to use when uploading the Skybox Images to your Roblox Studio Game.
Are you ready to learn how to create your own custom Cubemaps for your Roblox Game? Well, then take 5 minutes, and let’s jump straight into that fun.
Roblox Studio is using a Cube for the Skybox Projection. As we know, a cube has 6 sides. Unfolded, a cube will look like the image shown below.

As we can see, each side got a name. I keep it simple, and just call the different cube map sides as follows. Up, Down, Left, Right, Front, Back.
When you open your Roblox Studio Explorer, you can enter within the filter field Sky. This will show you the Skybox Properties. And as you can see in the screenshot below, the skybox exposes the six different maps for the cube.

If you have been uploading your own custom-made textures for the Roblox Cubemap projection, you have been successfully creating your own Skybox.

How to Create your own Custom Roblox Skybox
However, the most important and exciting part is to know how to create your own skybox. And that’s what I am going to explain right now. Step by step.
To create the Panoramic Image, I am going to use a free AI Tool, everyone can currently use with any available web browser. It’s a cloud-based solution, super fast, and super easy to use.
AI Skybox Generator Tool
The name of the AI platform is Skybox from Blockade Labs. See below a panoramic 360 environment, that was created with that tool. In less than 1-minute. It’s important to note, that a 360 panoramic view is needed in order to generate a Roblox Skybox.

When you visit the website, it’s very simple. By default, you create a new panoramic view. First thing you need to do, is to enter your text prompt.
That means, whatever “vision” you have in your mind, enter that vision as a text. And the AI Generator will create the 360 Panoramic Image for you.

As you can see, within a minute you generated your first skybox. Below your text prompt field, you can find a button to activate Negative Text.
I use it quite often, because if the AI Tool is generating an image with elements I don’t like. That’s the way to remove those elements. Just enter within the Negative Text Prompt the things you don’t want to be generated in the image.
In my example, the AI Tool generated pathways, roads, and hiking trails. But I didn’t want that. Therefore, I added to the negative text the things I didn’t want to be generated.

Once you have a panoramic image created, you can also change the style. Currently, you have a list of different AI models, that will allow you to create different styles.
If you like one of your generated images, and you don’t really want to change the object and subject anymore, you can also use the Remix feature. That feature will keep the image you generated, but you can now remix it with a new style.


Remapping the Panoramic Generated Image for Cubemap Projection
Once you created a panoramic image of your choice, it’s time to remap that image. Yes, we kinda need to convert that image projection to a cube mapping. Because this is what we need for our Roblox Skybox.
Luckily, there is one tool online that will help us to do this for us. The tool is called HDRI to CubeMap.
HDRI to Cubemap
The tool is very simple. The website just contains one window. All you need to do is to upload the 360 pano image you created with the AI Generator.

Once you uploaded your image, you can select the Cubemap View Button. That will automatically show your Cubemap Projection. And that projection is exactly what you need for the Roblox Skybox.

As we learned before, we need to slice that CubeMap Projection into six individual images we can then project to our Roblox Skybox.
When clicking Save, you can now select the resolution. And furthermore, you need to choose the Layout you want to download. For our purpose, we want to select the Layout with the single format images, at the very bottom. I also selected the 4k image resolution and the .png file format.

Once downloaded, you should have now six different images, see the image below.

As you can see, the HDRI to CubeMap tool is automatically naming your six images. We need to make sure, that each image will be mapped to the correct side of our Roblox Cube.
Remember what I showed at the beginning of this Tutorial. The Roblox Skybox has properties exposed. And now it’s time to add the images to the correct sides.
In order to make this easier for you, I created the following graphic. That helps to identify, which image you need to upload for the six sides of the cube. Remember, we do have Front, Back, Up, Down, Left, Right.

There is also one more thing to do. Very important to mention. The two images Up and Down, need to be rotated once Clockwise. I use for that Photoshop, but of course, you can use any other free tool to get this done.
Once those two images have been rotated clockwise, you are good to go. And you can now upload your images to Roblox Studio. I usually use the Bulk Uploader within the Asset Manager. Once uploaded I copy and paste the Roblox ID to the exposed properties within the Skybox.
A few more notes. Even so that the HDRI to CubeMap Tool supports full floating 32bit images (High Dynamic Range Images) that contain multiple exposures. I wanted to make clear, that the AI-Generated Skybox Images from Blockade Labs are NOT High Dynamic Range Images.
Those images are just 8-bit generated images. But for the Roblox Skybox, it doesn’t really matter. Since the Roblox Skybox doesn’t support a 32bit high dynamic range-based image lighting.
The so-called IBL (Image Based Lighting) is not really fully dynamic, and there is no real Global Illumination. However, that’s the fastest and easiest way to generate any 360 panoramic Skybox for Roblox Studio.