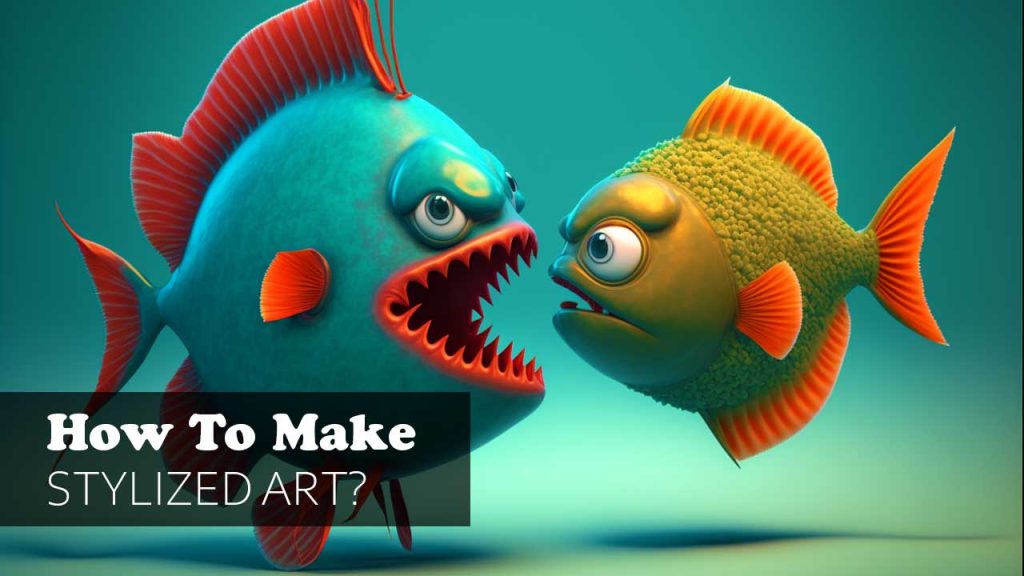
There are many ways to create Stylized Art, and the specific techniques and tools to choose will depend on the style of art you are trying to make and the medium you are working on. Here are some general steps you can follow to Create 3D Stylized Art.
Gather Reference Images
Art Directors and Creative Directors usually gather all kinds of reference images before they start making decisions about the path of their final Design Ideas.

I love to curate a lot of different styles. And therefore, I check a lot of different places to find more inspiration. Some common platforms you can pick from are Pinterest, Artstation, Zbrushcentral, Sketchfab, etc. And yes, as you know.

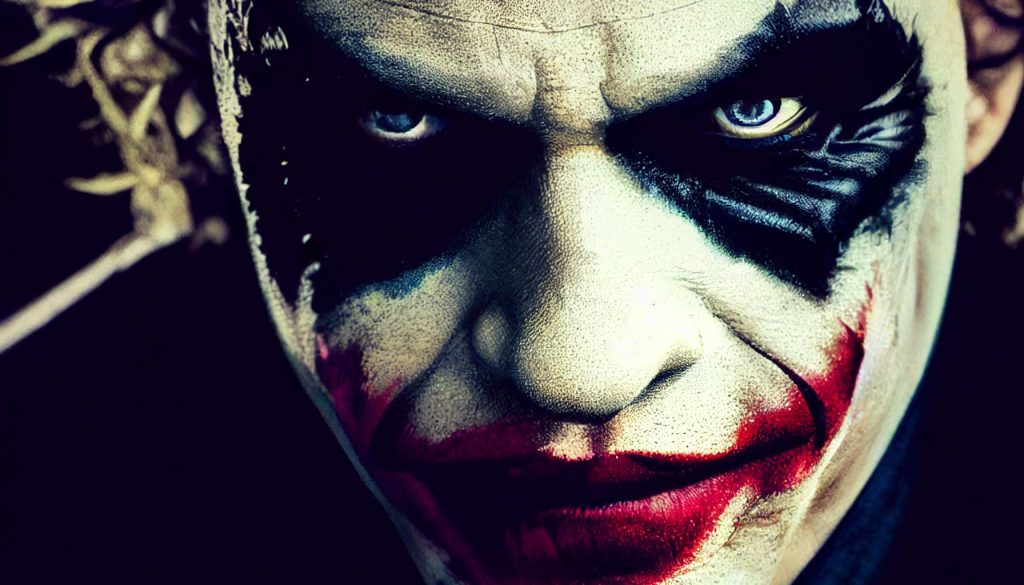
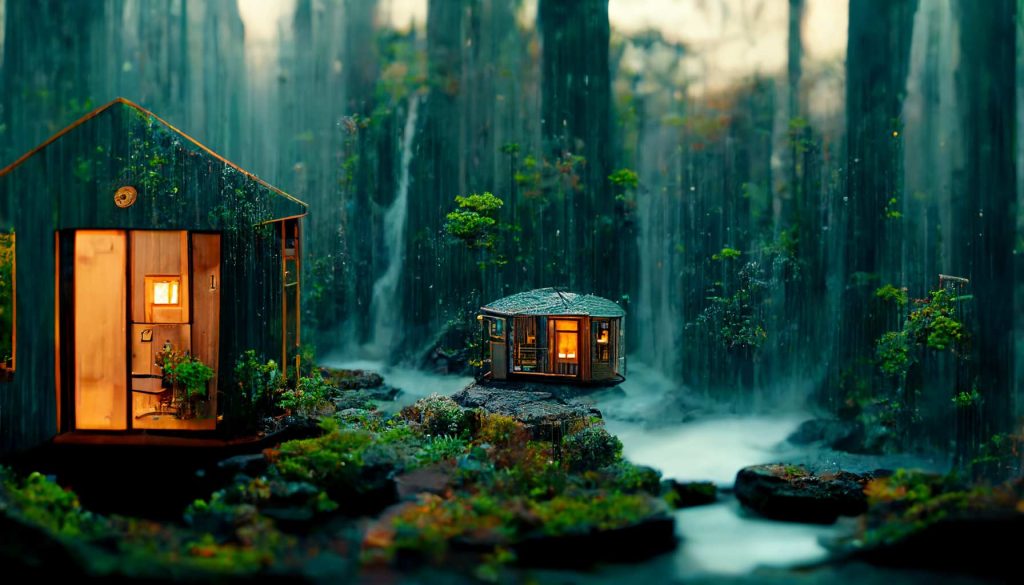
I also love to use Midjourney for Concept Art. It’s an incredible source of inspiration. I can simply put my thoughts and ideas into a prompt, and kaboom, a few minutes later I do have some sort of creative output of my idea. But yes, this is not something I consider my own personal Artwork. I consider it AI Art, which kinda helps me to create something “fresh” and unique for my own “humanoid-made” 3d world.
Simple put. Collecting reference images will help you understand the style and look you are trying to achieve. These can include images of characters, objects, environments, or other elements that you want to include in your art.
If you are interested to learn more about creating Stylized Art, then check out my Beginner Guide Stylized Art 101.
Choose a Style
I know it sounds easy to say “just chose a style”. Because first of all. There are so many different “styles” out there. Second. You want to find your own style, your own Look. And that specific Design Process is the actual Art. And the Fun. And YOUR personal note.

But in general, we could say let’s try to pick some sort of specific style of art you are aiming for. Such as cartoon, abstract, surreal, or general illustrative graphic design. And then, research the characteristics and basic techniques associated with this style to get a better understanding of how to create it. But more on that, further below.
Choose a software

Select a 3D modeling software that is suitable for creating the style of art you have in mind. Some popular options include: Blender, ZBrush, 3dsmax, Maya, Cinema 4D, etc.
But even Sketchup for Architects is very popular, or Revit, Rhino for Product and Industrial Designer However. A lot of 3D Artists like to use Blender, because it’s free. And for organic sculpting, my favorite tool is Zbrush. It gives me all the freedom to create any kind of 3D Models.
3D modeling
Use the modeling tools in your software to start building your 3D model, using the reference images as a guide. And I know. This sounds easy. But it isn’t. Yep, becoming a really good modeling Artist takes time and dedication.
Especially for Stylized Art Creation, it’s important to understand the basics of modeling. And then, you have to learn about the available Tools and their functionality. And once this is done, the most important part. It’s all about Techniques. How can you use your 3D Modeling Tools with a specific Technique to Create the Stylized Art you are aiming for.
This step is the most important one. Combining Tools & Techniques is like TnT. And that’s the actual fun and creative part. The part I will focus the most on. Because that’s the part that ultimately allows you to become a true 3D Artist.
3D Sculpting
I differentiate the technical 3D Modeling Work from the 3D Sculpting Process. The way you can create your 3D Models can be drastically different, considering your choice of software.

Zbrush is for me the absolute winner and the absolute best tool for 3D Sculpting. To be precise, we should call it digital sculpting. However, the process is very similar to traditional clay sculpting.
For me, the sculpting process is more creative and less technical then traditional box modeling. And that part is super important. Because that’s the essence of creating Stylized Art.
Painting & Texturing
Once the 3D Modeling is done, you have another creative part. It’s Painting & Texturing. Every 3D Model needs Materials (or a so-called Shaders) to be rendered as an image.

And to get paint, colors and textures on your 3D Model, you need to use Brushes, Paint, and you need to learn the Texturing Process. This is an Art on its own.

And for that process, yes, you can already imagine. You can also pick from several different 3D Texturing Tools. The most popular ones among 3D Artists are Substance Painter and Marmoset Toolbag.
I use both and I will also cover more about those two tools and the different techniques you can use brushes, and paint layers for your texturing process.
Adding textures to your model by mapping images or patterns onto its surface. This will give your model a more realistic or stylized look.
Lighting
Add lighting: Set up lighting in your scene to help bring your model to life. Experiment with different lighting setups to see what works best for your art.
Lighting is very important for your own instinctive Stylized Art. Because Light will ultimately influence how your 3D Model will be rendered. Are you aiming for a Studio Shoot? Is it outdoor lighting? Are there any specific light behaviors? Volumetric Lighting Information, Fog, Atmosphere?
What different Light Types can you choose from? Should you use Spotlights, Rectangular Lights, Umbrella Lights, Directional Lights, IES Lights, Fluorescent Lights, LED Lights, Sunlight, Candle Lights, etc. etc.

If you do a little bit of photography you will notice that the lighting is incredibly important for the outcome of your images. And yes, the Lighting Chapter is as big as the Modeling Chapter, or the Texturing Process.
And I will also go in-depth into the different methods of lighting your artwork.
3D Camera Work
Once your 3D Model was created, and textured, materials have been assigned and the lighting setup is done. You are ready for Camera Work.

In order to render your model as an image, you need to set up also a camera. In the 3D World, you can use so-called physical-based cameras. That means those 3D Cameras work like a Camera in real life. With F-Stops, Shutter Speed, ISO, etc.
Working with a Camera is also its own Art. Knowing the basics of Photography will of course help you a lot to create Layouts, Previz, Stills, and Camera Animations.
Render your Artwork
Last but not least. You want to render your artwork, right? Meaning, you want to create cool-looking pictures of all the hard work you put into your 3D Model. Picking the right Render is also important to achieve a certain look.
Every 3D Modeling Tool comes automatically with a render engine. What render-engine you like to choose usually heavily depends on your end goal.

But there is one important difference between the world of render engines and the 3D Render process itself. The support of so-called offline Raytracing Rendering gives you the ability to render an image with your CPU or GPU Power.
The process to compute the final rendered image is called render time. And that can be very time-consuming. The second option is to choose a so-called Real-Time Render Engine.
The most popular and most powerful RT Render Engine comes from the Game Developing Company Epic (known for Fortnite). The Render Engine is called Unreal Engine, and the latest version is UE5 which contains Nanite and Lumen Technology.
I will also showcase all the different render engines, so you will have a better overview of what to pick from for your personal workflow.
Once you are happy with your model and lighting, use the rendering tools in your software to create a final image or animation of your art.
Creating stylized art is all about experimenting and having fun. Don’t be afraid to try new things and see what works best for you and your artwork. And heads up. The whole process isn’t even done at that point, considering you want to print your 3d model with a 3D Resin printer. But that’s another fun story, I will get into soon as well.